With Vectera you can book meetings and start online meetings within 5 minutes. But how does it work? Below you can find a clear overview of how Vectera works. For every step a link is provided to an article that explains the accompanying configuration.
Step 1: Create an account
1. Go to the sign up page and fill out your personal data. There will automatically start a free trial of 14 days, with no credit card required.
Step 2: Create meeting rooms
2. After you logged on to your account, you land on your Dashboard. On your Dashboard, you can create new meeting rooms and find the links to your waiting rooms and see upcoming .
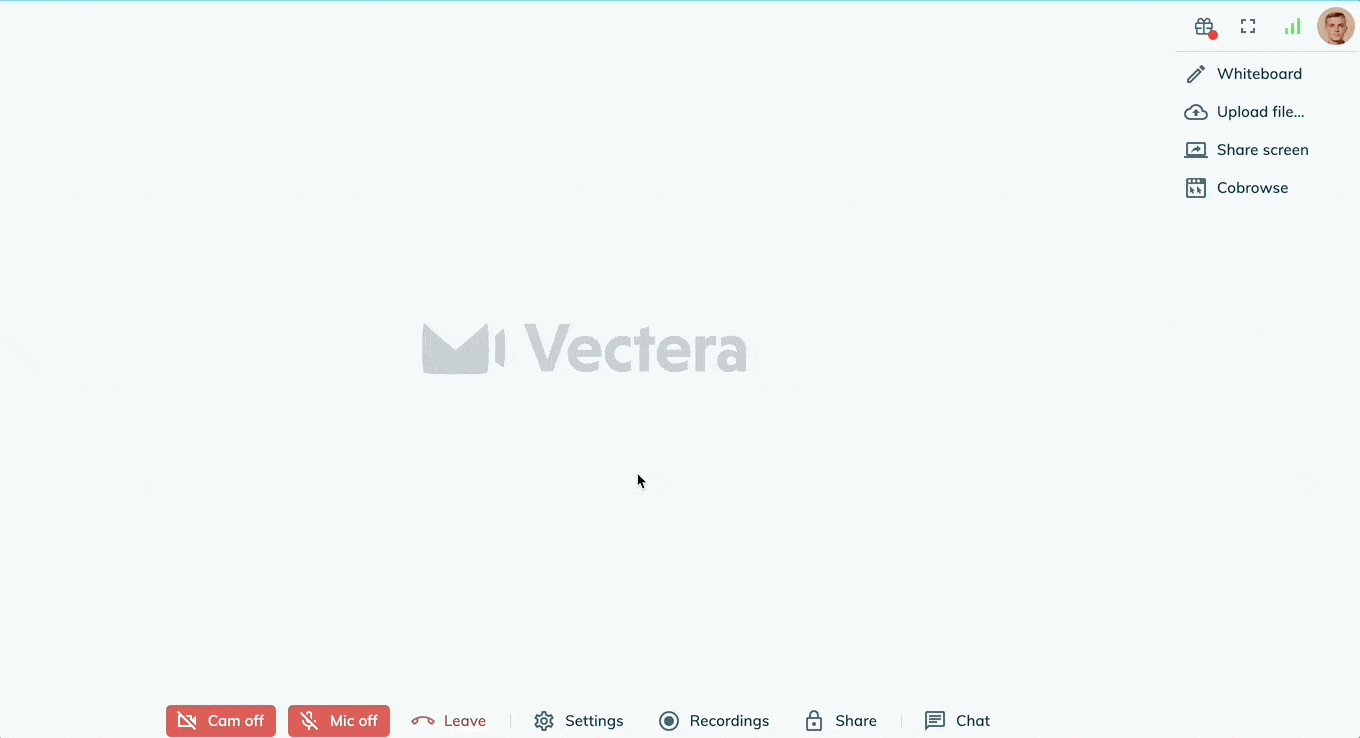
3. Once you've joined a meeting room you can immediately see the many features that Vectera has to offer: the whiteboard, upload files, screen sharing, cobrowsing, record your meeting, disable your camera and/or microphone etc.
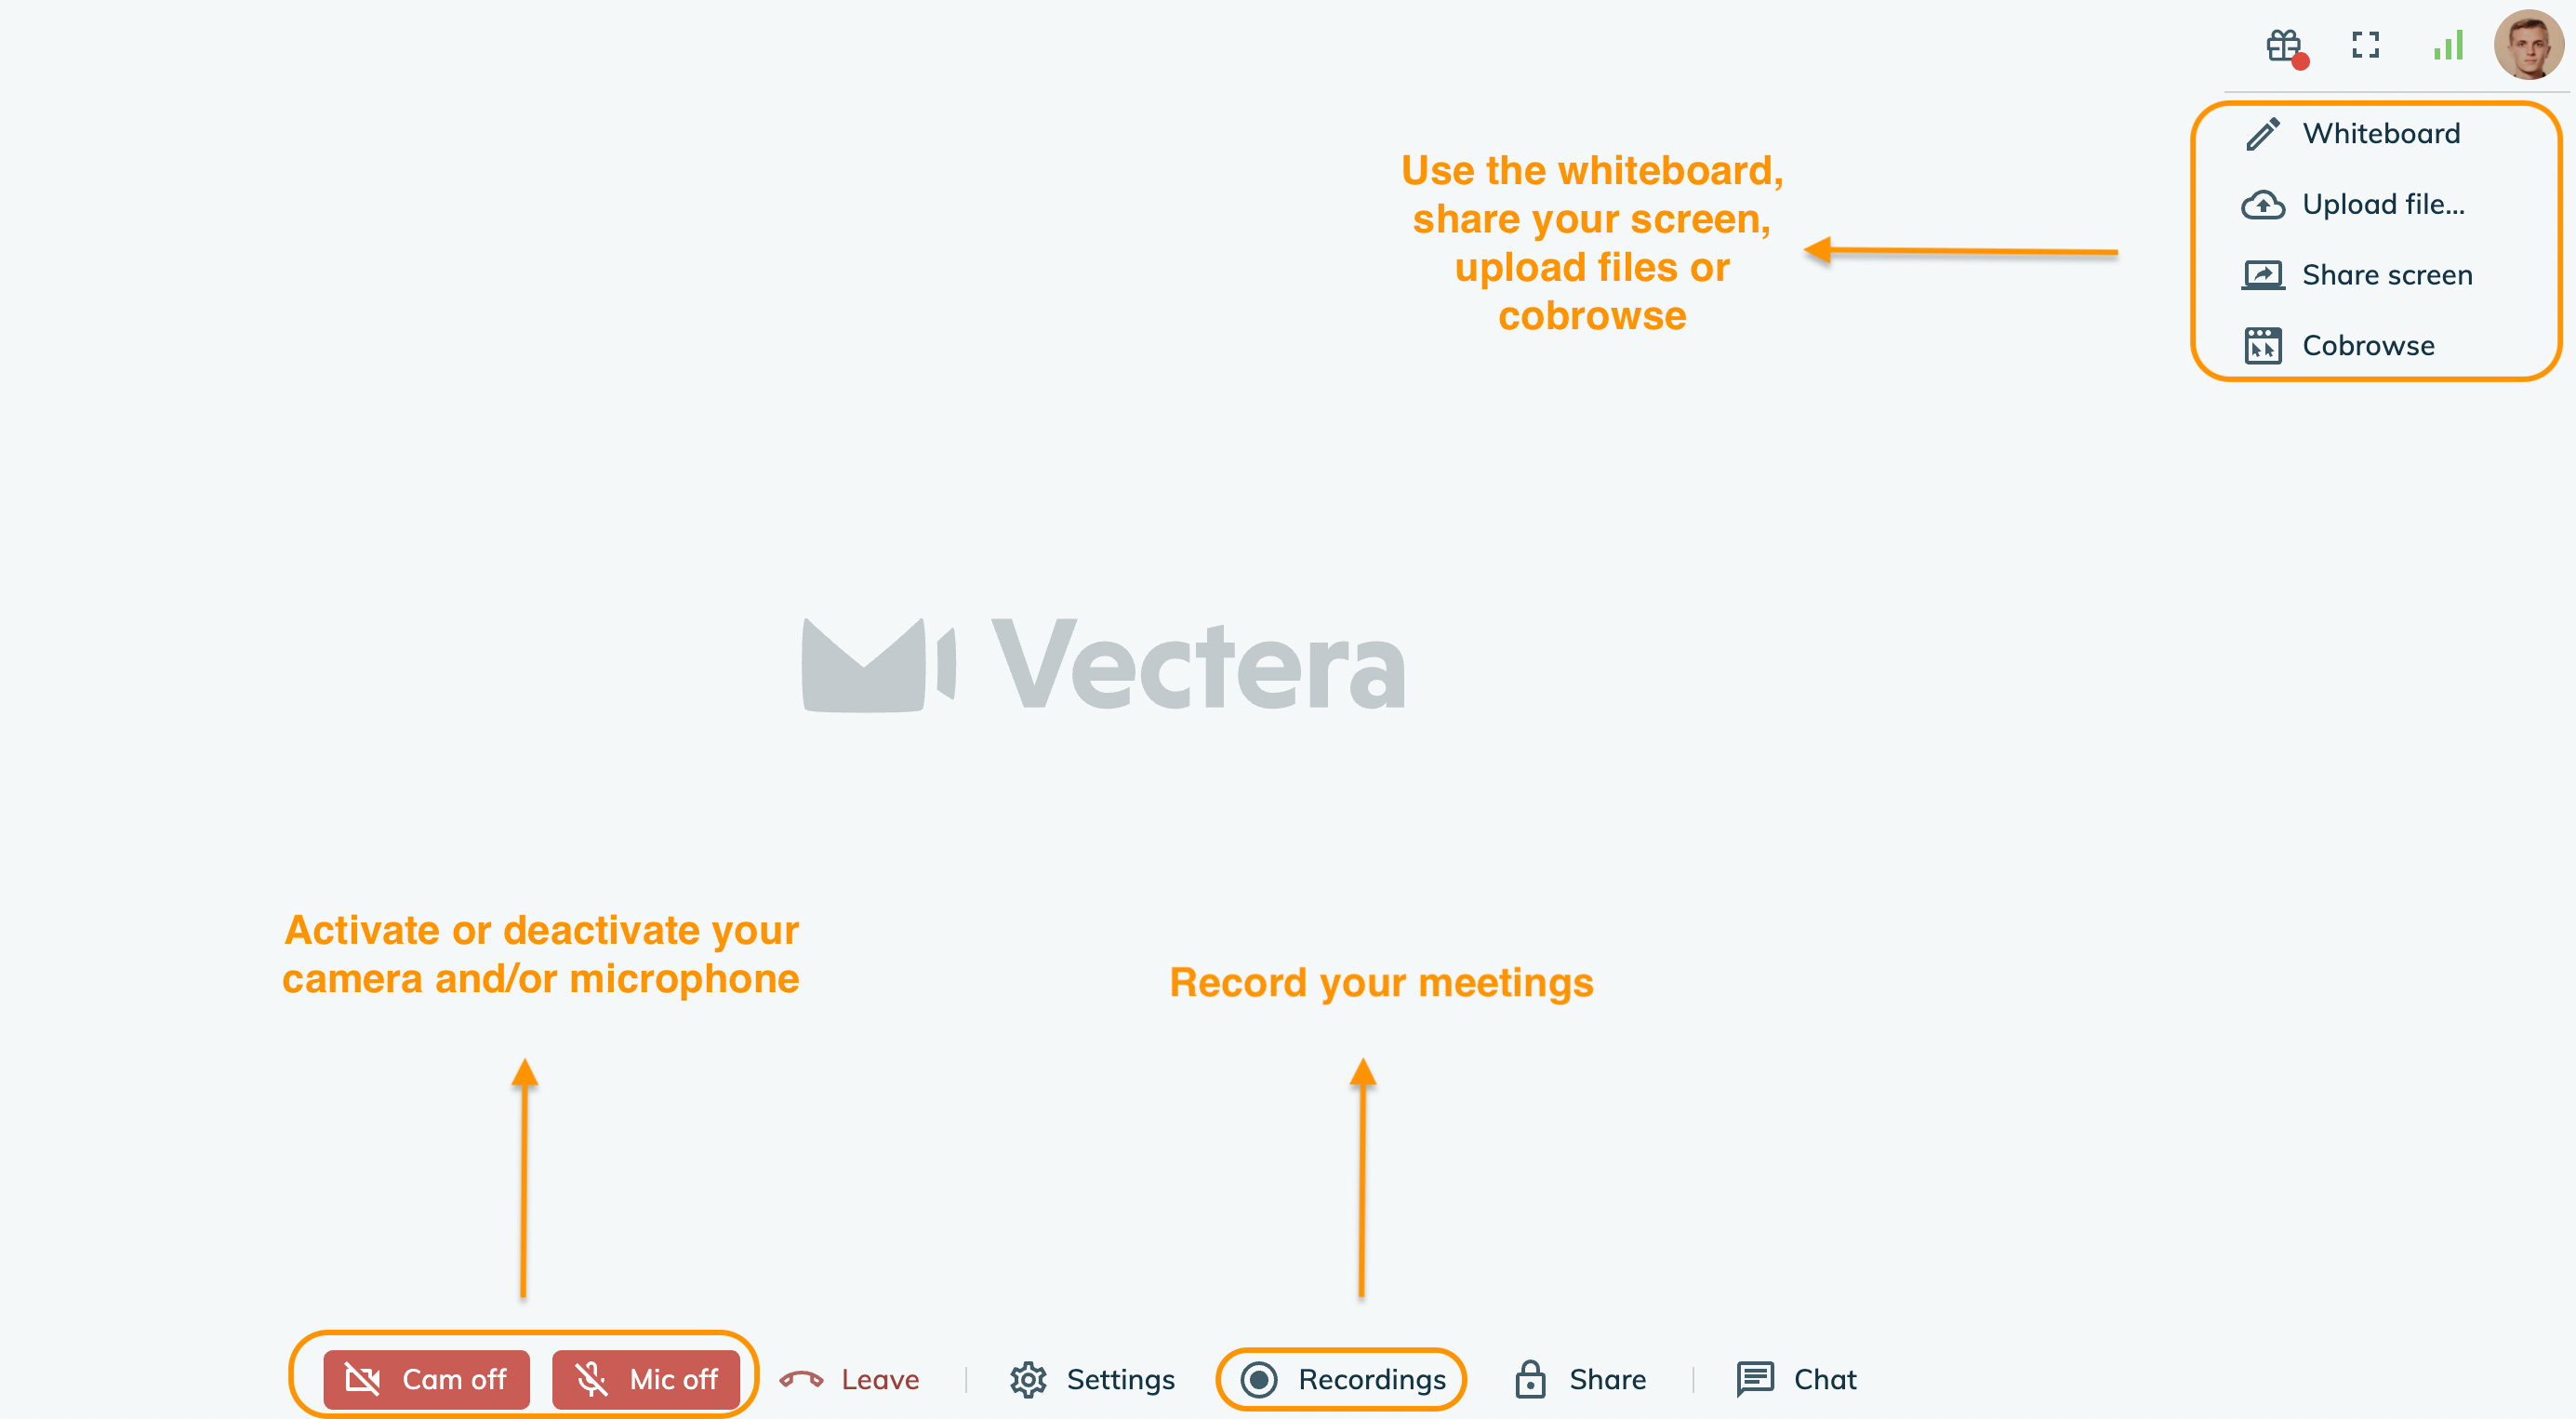
4. To invite your guests you have to share the URL of the meeting room. You can do this by copy-pasting it from the address bar or click "Share" to copy it via the copy button.
Step 3: The scheduler
With the Vectera scheduler, your customers can easily plan new meetings in your online agenda on moments that you've marked as available.
Follow the next three steps to successfully configure your scheduler:
1. Connect your online calendar to your Vectera account and create a personal booking page.
2. Now you can create different meeting types. That way you can offer your costumers a tailored experience when booking a meeting with you! You can select different durations, locations and set the availability for the meeting. The article "Create a meeting type for your booking page" illustrates how you can do this.
3. Once all this is set, you are ready to share your booking page with your customers. You can find this URL to this page, in the scheduling tab under the button "Booking links". Click on the "Copy personal booking link" button next to it and send it to your customers.

When your customers land on your booking page they will see something like this:

4. It's also possible to neatly integrate the Vectera scheduler into your website. Read more here!
Step 4: Customize your meeting rooms and booking page
In Vectera there are several customization possibilities for your meeting rooms and booking pages:
Upload a logo and favicon
set up background images,
use an own subdomain,
customize the color scheme.
Read more about these features in this help article!
Follow our blog to stay up to date on all new features. If you have any suggestions or requests, don't hesitate to contact us at support@vectera.com!
Vectera is looking forward to your feedback so we can offer you the best scheduling and customer meeting experience. Set up your next customer meeting right away by logging into your account or sign-up for a free, fully-featured trial of Vectera!